Have you ever heard abut sprouted foods, eaten them or even tried sprouting in your own home?
From this time of year, throughout the summer and early autumn months, when the daylight is longer and the sunlight is stronger, sprouting foods on my own kitchen windowsill becomes my favourite little obsession!
Why Sprout?
Especially when the weather is milder, I naturally lean towards raw foods over cooked the majority of the time, because I find that they really boost my energy, digest better than cooked foods and I never get that heavy, full feeling after eating.
I’m a big fan of sprouting seeds, beans, legumes and grains in the sprouting jar on my kitchen windowsill. They’re literally teeming with enzymes, essential vitamins, minerals and all the nutrients needed for a plant to grow, which is why they’re so beneficial to us. Sprouts are also extremely alkaline, fibre-rich and full of chlorophyl to help keep your blood healthy and oxygenated. I love to eat a big handful of them in a raw wrap for lunch with a few slices of avocado, or I mix them into salads for an extra boost of protein.
Some people may have trouble digesting beans, and find that they produce gas and bloating. But raw sprouted beans are much easier to digest thanks to their living enzyme content.
Many nutrition and natural medicine experts recommend to include as many raw foods in your diet as possible. They’re so beneficial because the living enzymes naturally present in raw food actually lend themselves to the digestive process in your body. Raw nuts, for instance, contain enzymes that help them to digest in your body. But in roasted nuts, those enzymes can become denatured and then die. Eating raw foods means that your system doesn’t have to provide all of the enzymes needed for digestion itself. In terms of building your health and beauty, this is great news!
Energy is freed up to work on other areas of your body, like repairing damaged skin cells. Raw foods tend to lend themselves well to weight loss too, as most are low in calories, fat and sodium, and high in water and fibre to keep you feeling full.
Getting Started:
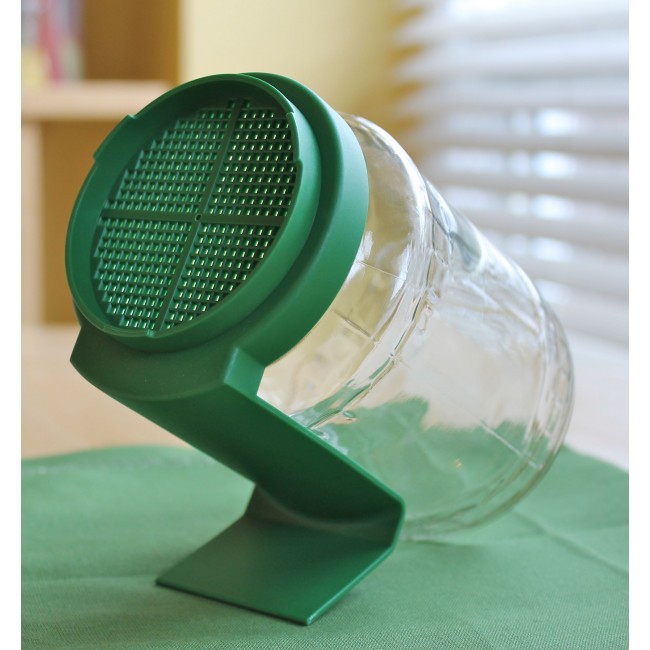
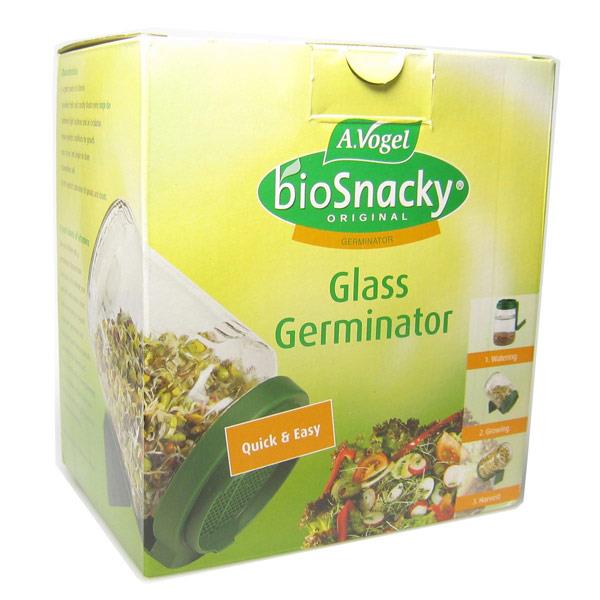
Sprouting your own produce at home couldn’t be easier. All you need is a sunny windowsill and a sprouting jar. You can either buy a jar like this A.Vogel version I bought in Nourish for €6.80, or else you could use a large empty, clean jam jar with the lid screwed securely on and holes poked through the lid to allow sufficient oxygen in.
To sprout the chickpeas, you will need a bag of dried chickpeas. Fill about a third of the sprouting jar with the dried chickpeas and allow them to soak for 2-3 hours, then drain them and place them in a sunny spot in your house, preferably close to a sink. You will need to rinse them about twice a day to keep them moist, and I usually do this in the morning and evening. Then simply watch them sprout over the next two to three days.
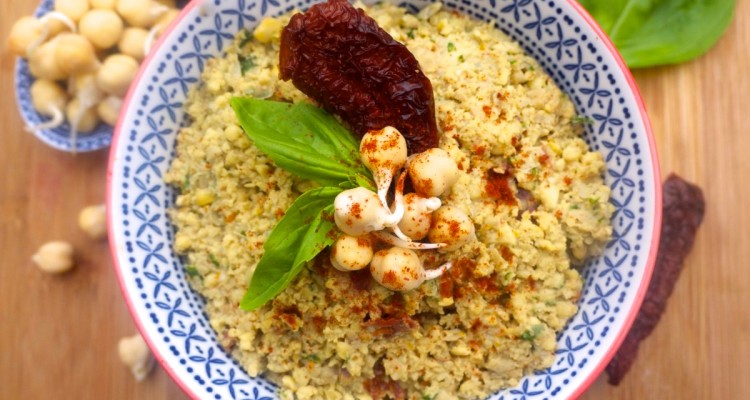
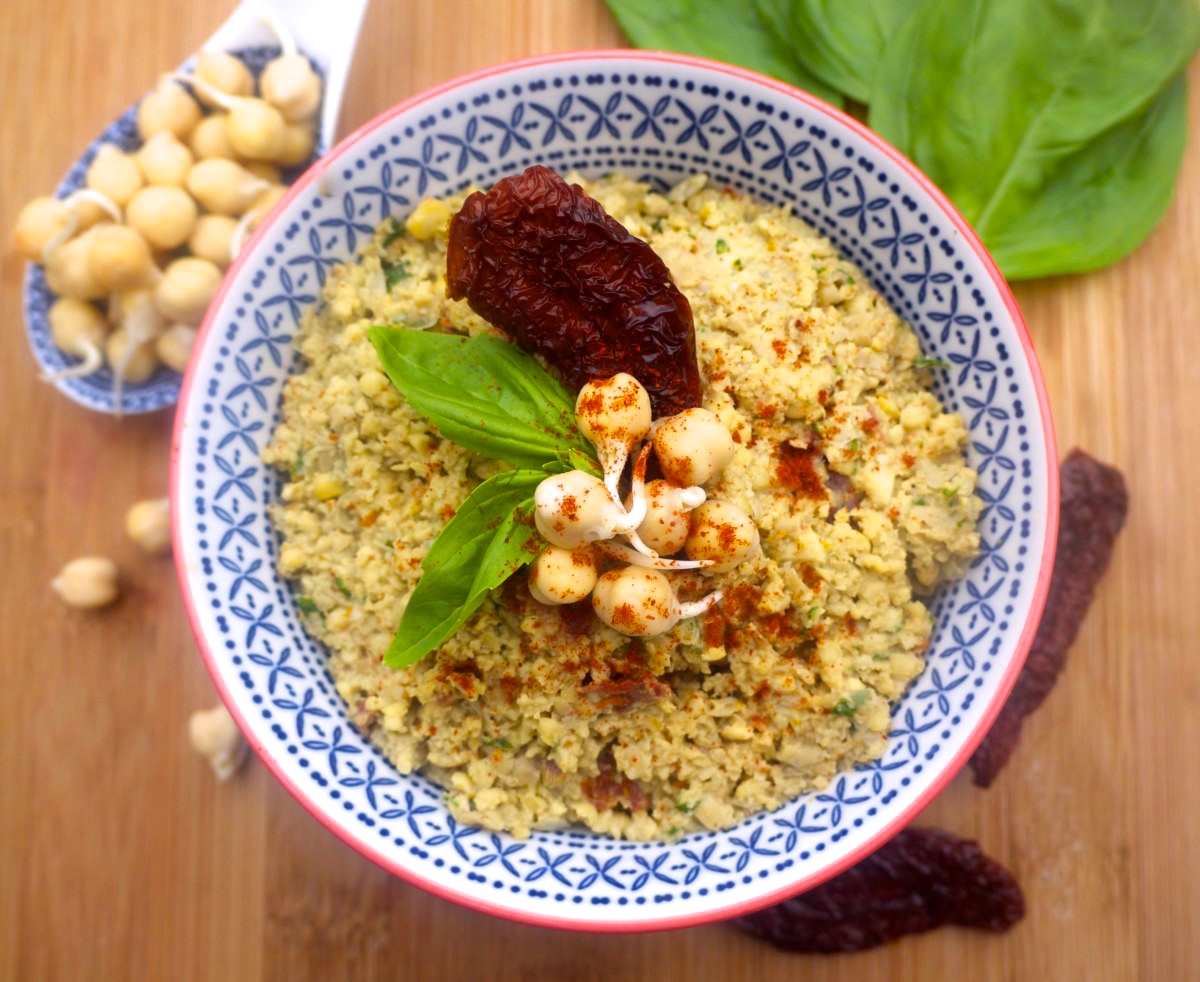
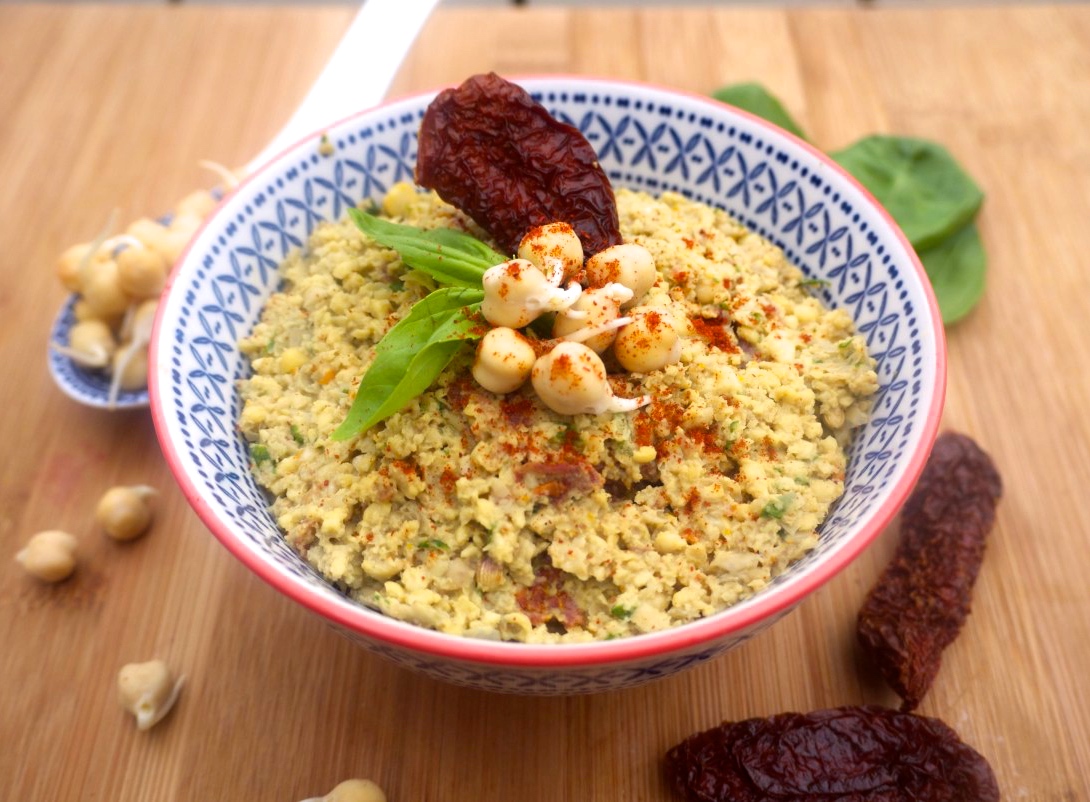
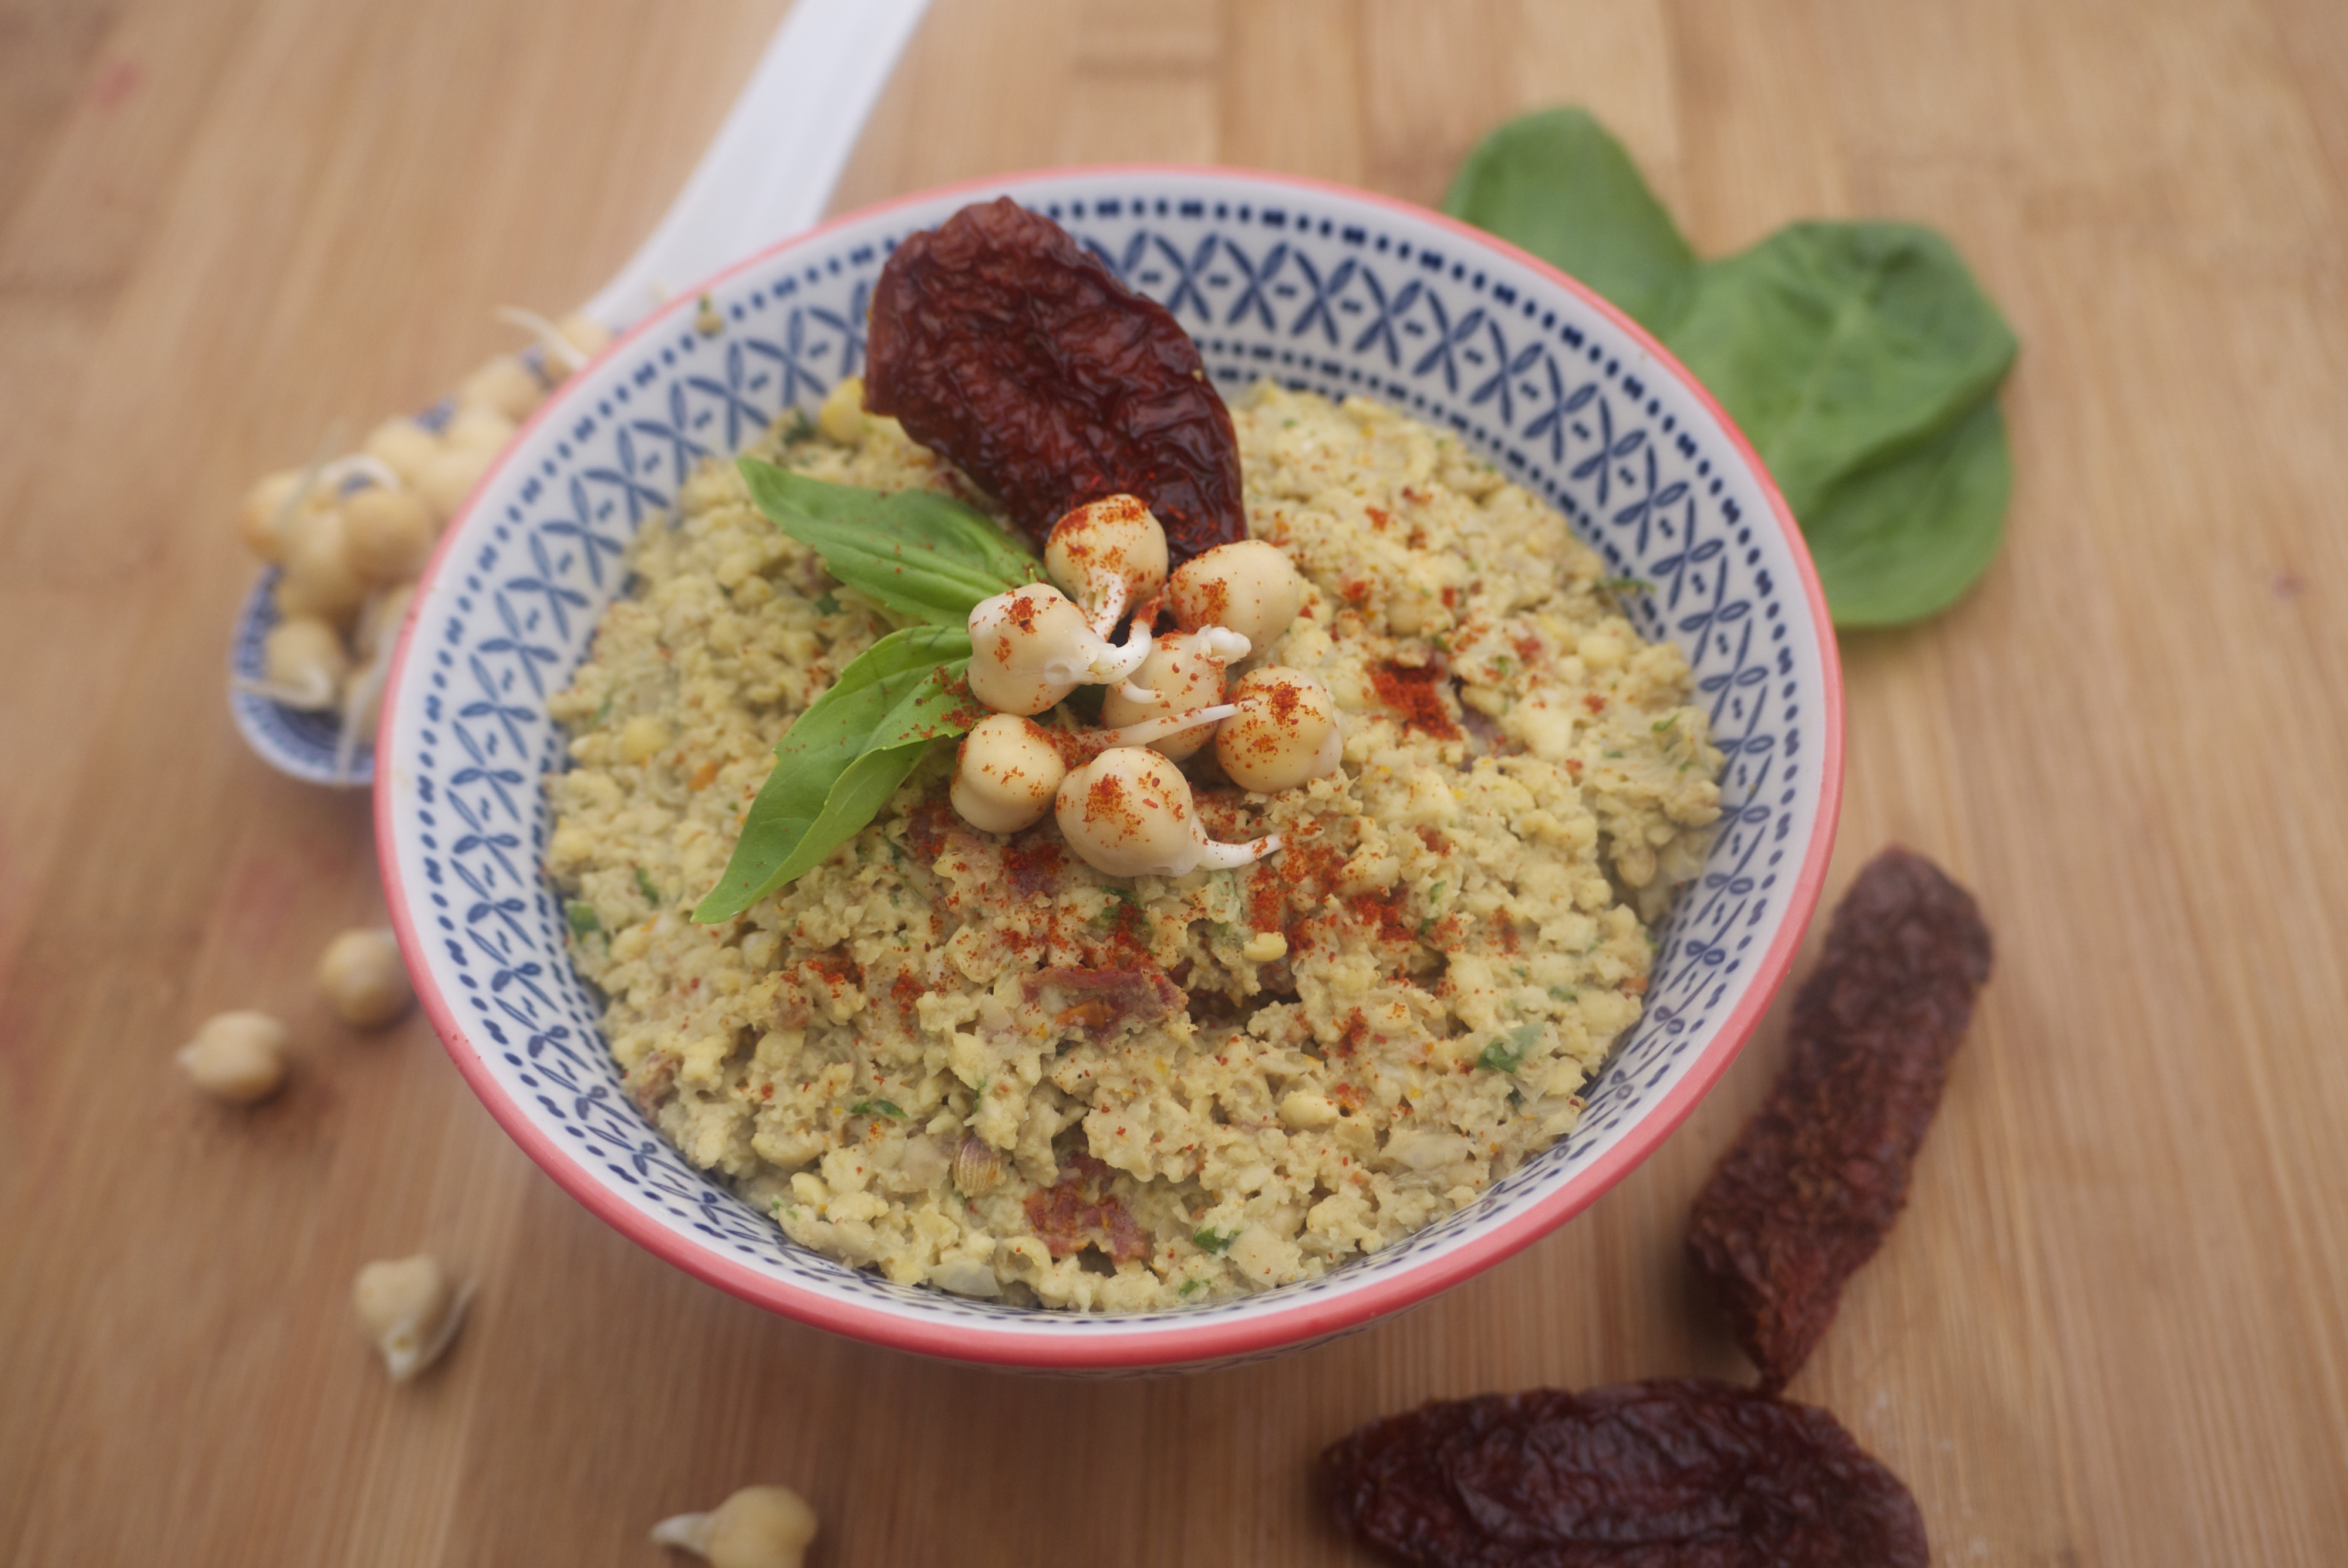
When all the chickpeas have sprouted, give them a final rinse and store them in the fridge. Then you can use them on salads, sprinkled on soups or blended into a delicious hummus, as I have done here.
Happy sprouting!
I would love to know if you get a chance to make this Basil and Sun-Dried Tomato Sprouted Chickpea Hummus! Simply tag #RosannaDavisonNutrition on Instagram or Twitter or come on over to my Facebook to say hello 🙂
- 165g (1 cup) sprouted chickpeas
- 1 handful fresh basil leaves
- 6 pieces sun-dried tomatoes (oil-free)
- 1 tbsp fresh lemon juice
- 1 clove of garlic
- 1 tbsp tahini paste
- 1 tsp coriander seeds
- 1-2 tbsp unsweetened almond milk
- 1/2 tsp smoked paprika
- 1/2 tsp cumin powder
- Pinch of dried chilli flakes, to taste
- Pinch of Himalayan pink rock salt and ground black pepper, to taste
- Dash of low-sodium tamari
- Place all ingredients in blender or food processor and blend until well combined.
- Add extra almond milk if mixture is too dry.
- Serve with salad, wraps or as a dip.
- Any leftovers can be stored in an airtight container in the fridge for 2-3 days.